
We have eagerly been awaiting the opportunity to get to know Kane and introduce her to the AOV community. Her work is stunning, and the fact that she is colorblind makes her amazing work that much more of an incredible achievement. Kane has taken the time to share her story along with her one-of-a-kind editing tools to bring our photography to the next level.
My name is Kane C. Andrade, I am a 3d animator and visual effects artist in San Francisco, CA. I am a Marine Corps veteran who is colorblind.
Tell us a bit about yourself and your inspiration, where did your passion for photography come from?
I get greens and yellows mixed up. So it’s not that bad. Two years ago I got out of the military and I was having a hard time transitioning over to a civilian life. I remember watching travel videos on YouTube that led me to Jordan TaylorCutFilms instagram. I was so amazed by his work that it inspired me to pick up a camera. I quickly found a group of friends that had the same creative interests, and we’ve been able to travel and chase our dreams as a team. My favorite thing about photography is the community and I think the challenges can be finding a stable income but it’s definitely not impossible.
Do you have tips & tricks you have used in your creative pursuits that you would like to share with the AOV photography community?
Like I’ve mentioned before TaylorCutFilms was one of my biggest inspirations. I would try to mimic how he edited, I would try to learn how he achieved a certain look by countless trial and errors. Him posting every day motivated me to get out there and shoot. My biggest tip would be to stay inspired and practice practice practice.
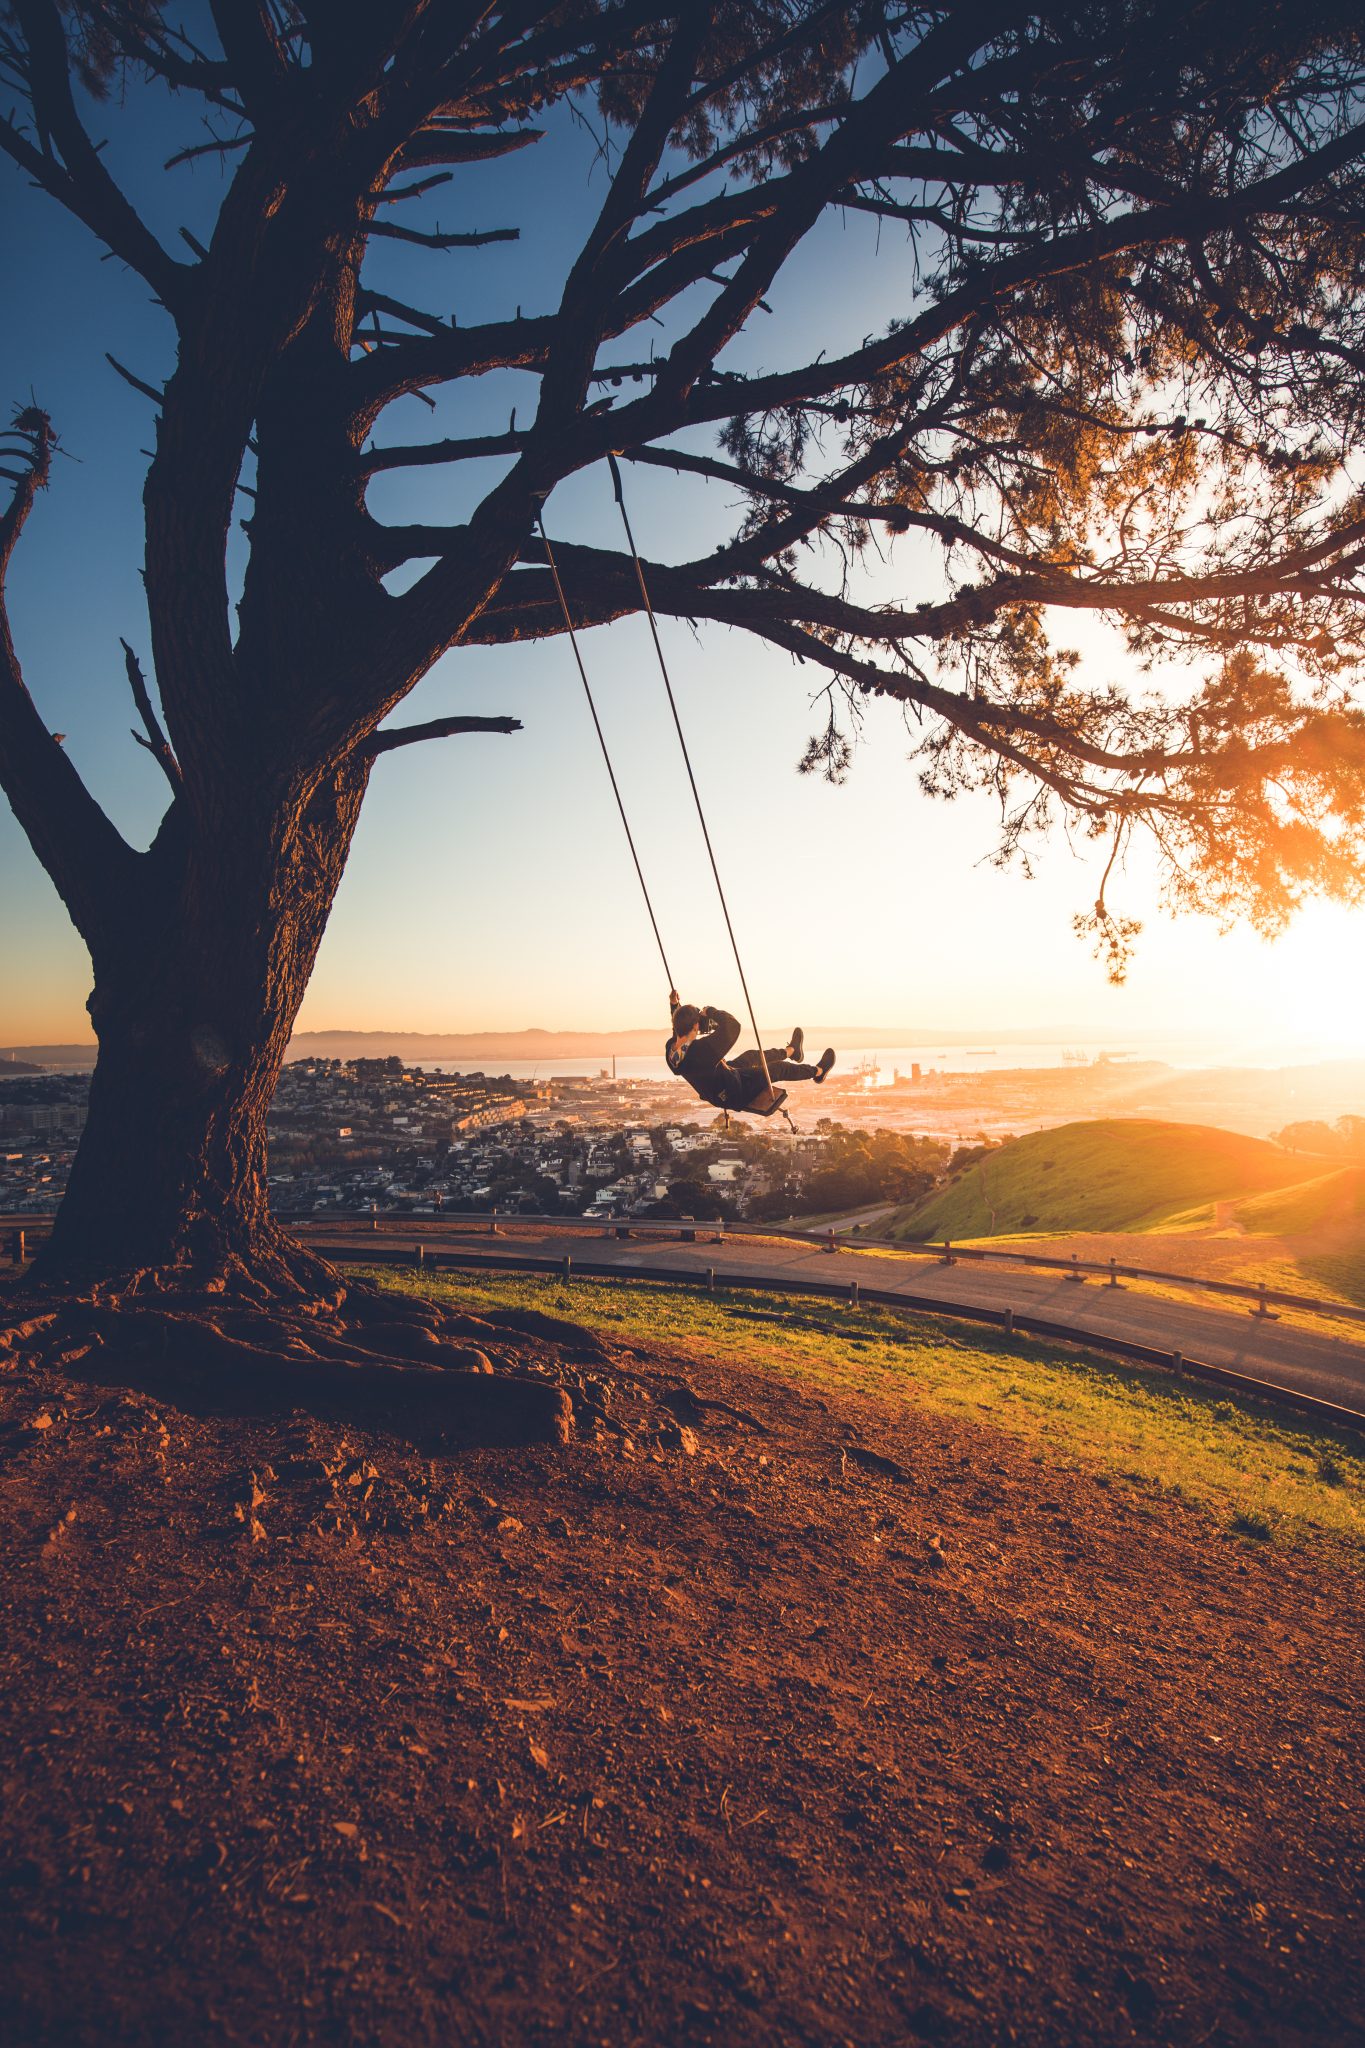
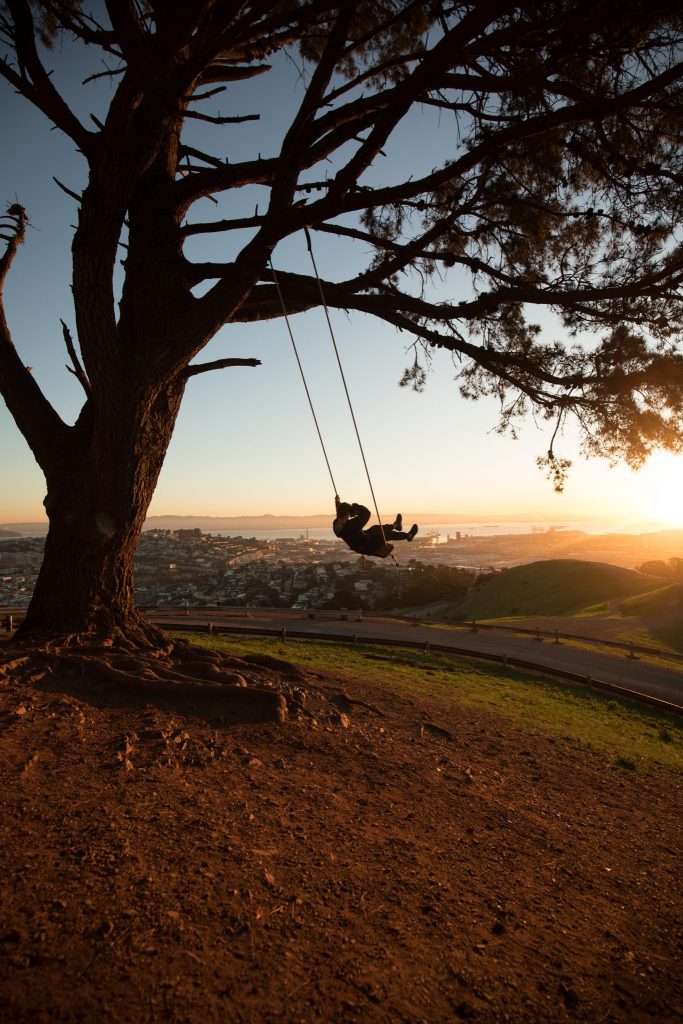
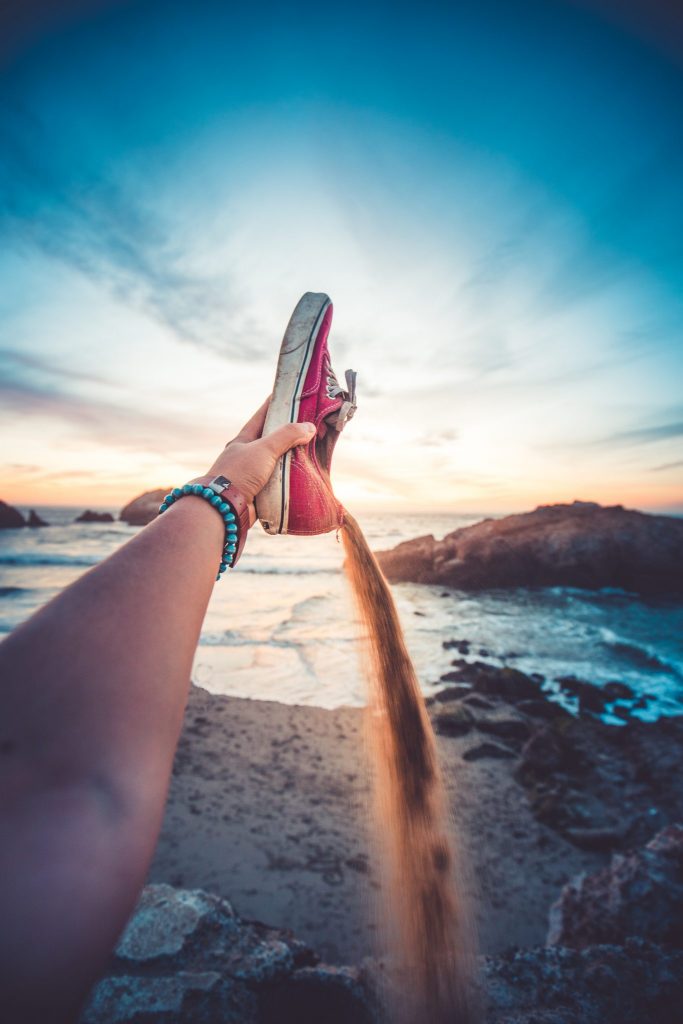
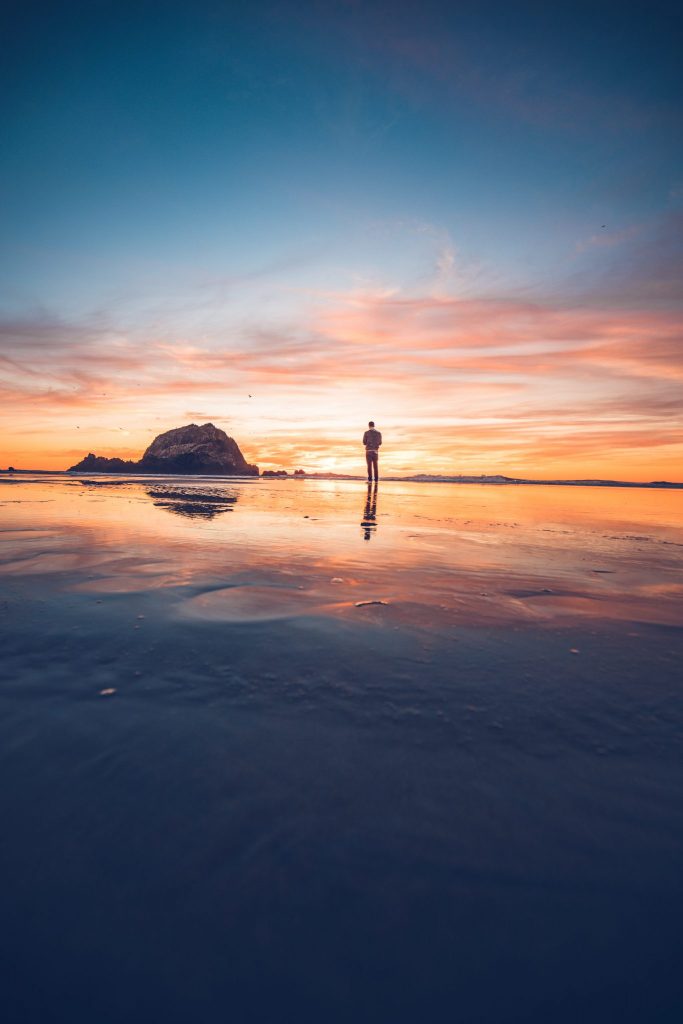
On the shooting front my best advice would be to capture different angles and try different ideas in the spot that you’re in. Don’t capture what everyone else is capturing. Sometimes the most beautiful things are behind you. Also to capture the best colors, it’s best to shoot during sunrise or sunset.
On the editing front I make sure to mess with all the settings in Lightroom and Photoshop. You have a lot of tools in your possession don’t be afraid to mess with the settings.
Why did you create this set of presets?
With these presets I’ve been able to put together the base of my style. It took me a long time to figure out and at times it can be very frustrating to find your unique look. I’ve put this set of presets together to be able to help you see the techniques I use and hopefully give you a boost in helping you find your own style.
What do we get with your preset pack?
Dreamy – Opens up the image without adding any harsh tones.
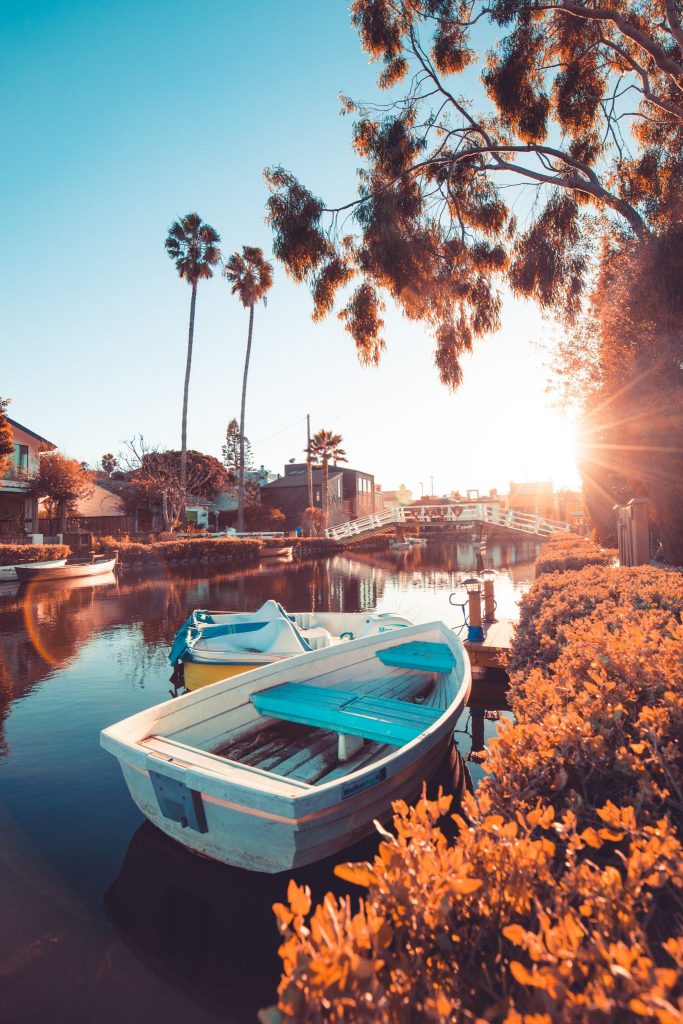
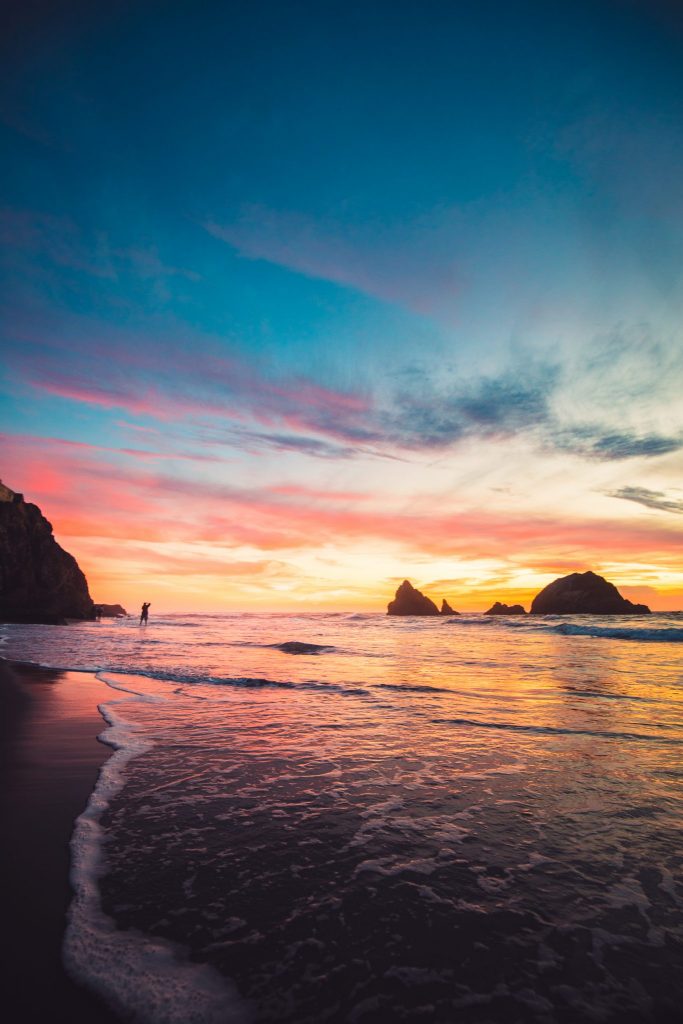
Sunset – Brings out the colors in the sky. I’ve also added a radial filter to emphasize the lighting.
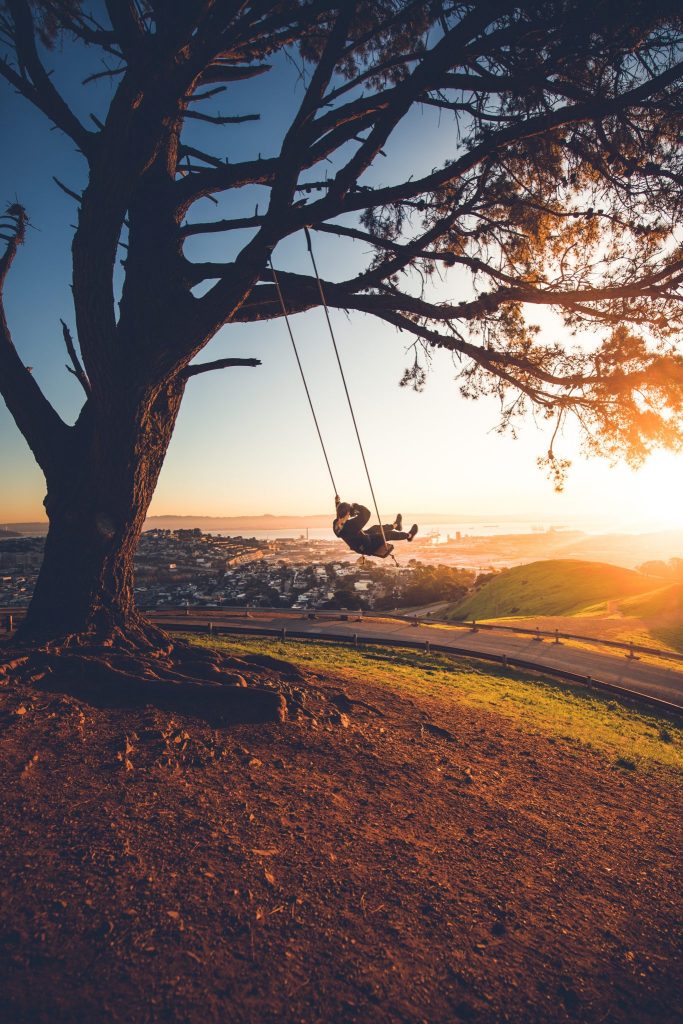
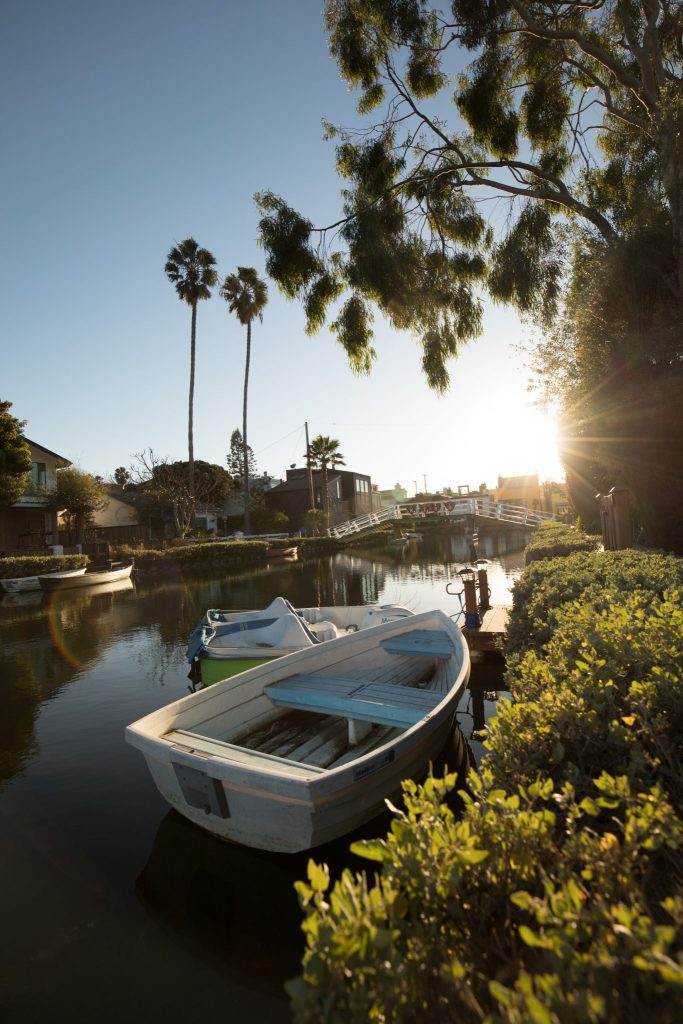
Golden Hour – Best used during golden hour, giving you beautiful blue and gold tones.
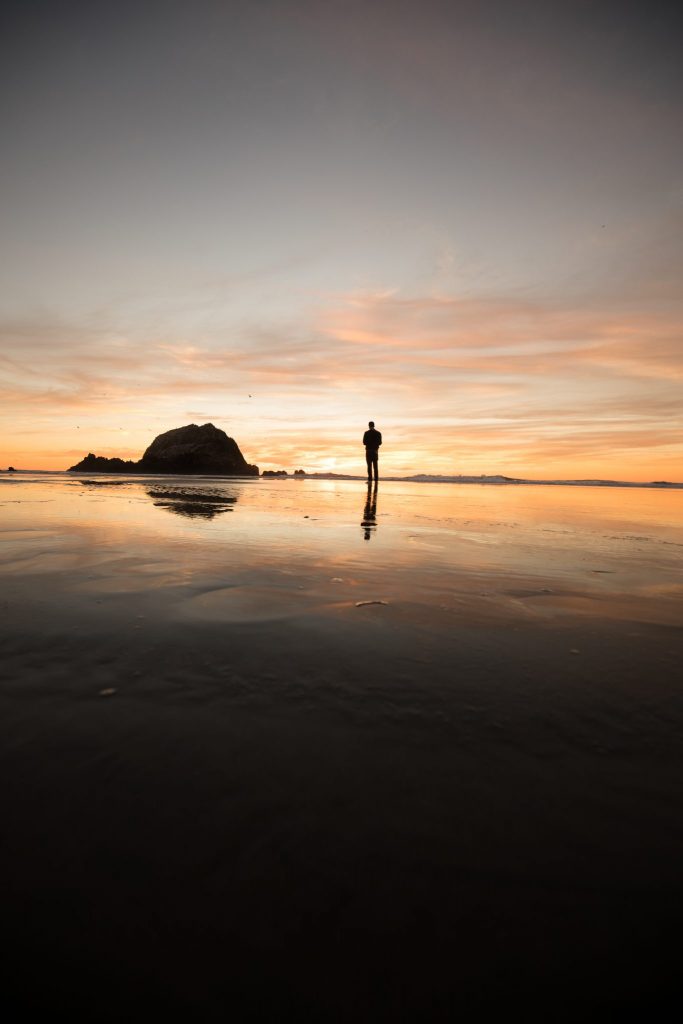
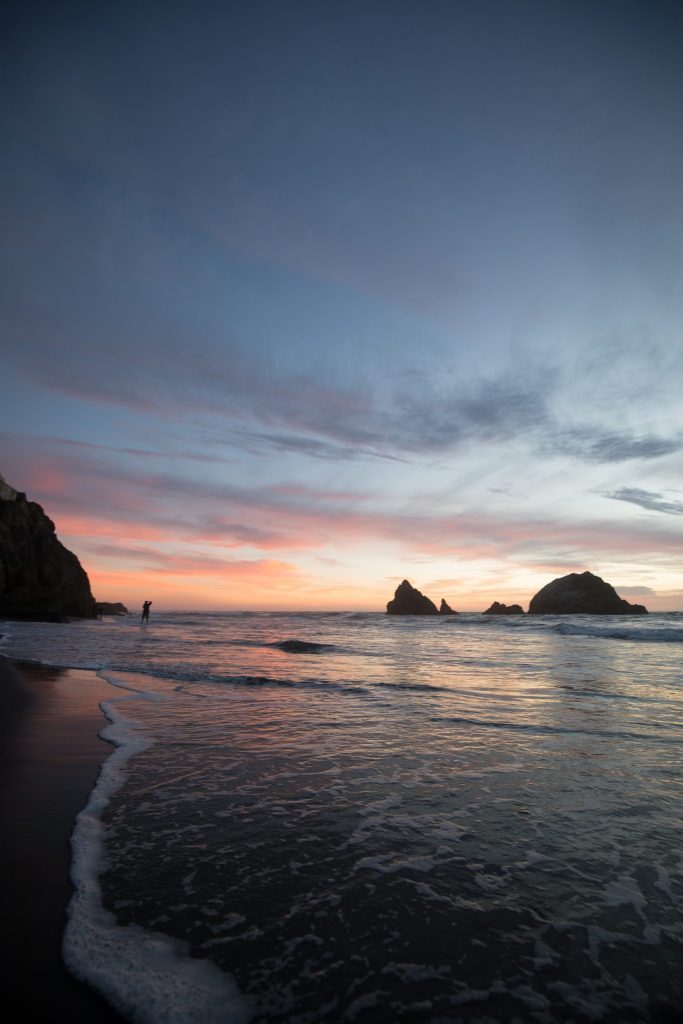
Moody – My rendition of the meaning of moody and still having color in your photo.
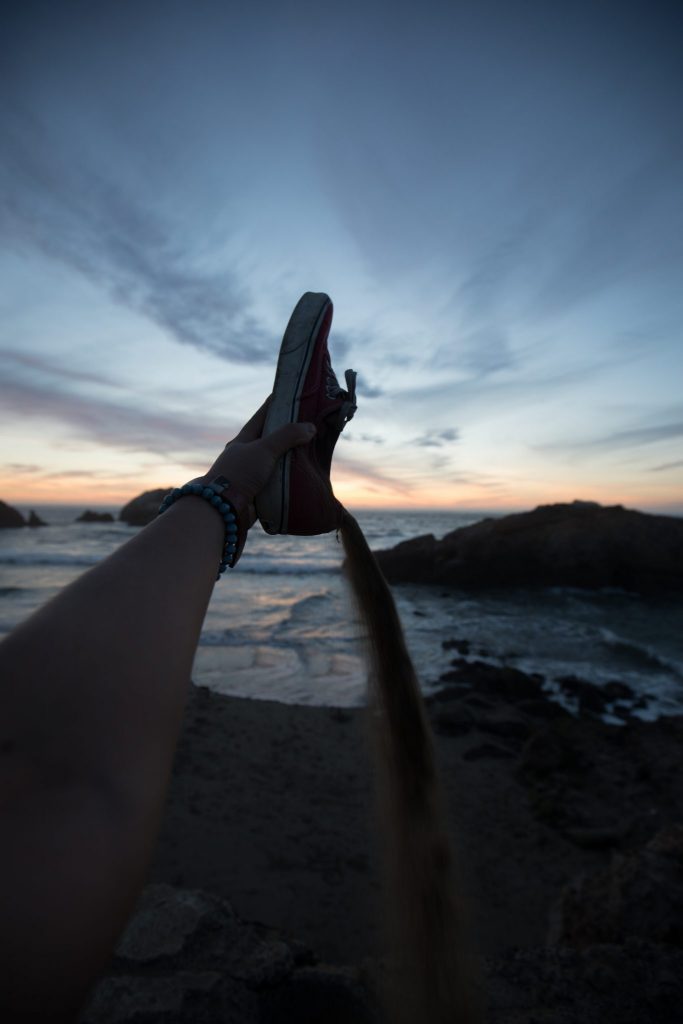
Soft – Pulls out the colors ever so slightly. Giving the whole image a warm feel.
Kane, you’re an inspiration to many! Thanks for sharing